

A floral gallery wall is a lovely answer to the wall that needs more than one picture but less than a rigid grid. It gives individual pieces room to breathe, lets color repeat in a natural way, and turns a favorite flower print into the beginning of a larger story. The trick is not collecting as many frames as possible. It is giving the group one clear idea, then leaving enough space for each piece to matter.
That idea can be simple: roses and soft pinks, loose watercolor florals, a small group of botanical studies, or art that shares the same warm wood frame. Once the visual thread is clear, you can mix sizes and let the arrangement feel personal without looking random. Use this guide to plan the wall before you make the first hole, then adjust the details until the group feels at home in the room.
1. Begin with one visual thread
A good gallery wall does not need identical artwork. It needs a reason for the pieces to be together. For a floral arrangement, the easiest thread is color. A blush peony, pale botanical green, and a warm ivory background will often sit comfortably together even when the flowers and formats are different. You can also use subject matter, such as garden blooms and vases, or a shared finish, such as all wood frames.
Pick one idea you want the wall to carry before you begin looking at individual prints. A quiet garden wall might use softer colors, open backgrounds, and light frames. A more dramatic dining-room wall might use deeper reds, larger blooms, and a stronger contrast between art and wall color. The individual pieces can vary, but the overall feeling should be easy to name.
Try a short sentence rather than a long mood board: “warm watercolor flowers with natural wood,” or “bright, gathered blooms on a pale wall.” That sentence becomes a useful filter. If a piece does not add to it, save it for another room.
2. Choose an anchor piece first
The anchor is the piece that gives your eye a place to land. It is usually the largest print, the strongest color, or the work with the clearest floral shape. Place it slightly above the visual center of the group, especially if the arrangement hangs above a sofa, console, or sideboard. The other pieces will feel more intentional once they have something steady to respond to.
An anchor does not need to be oversized. It simply needs enough presence to establish the scale of the wall. In a narrow entry, one medium floral print may be enough. Above a long console, a wide triptych can become the center of gravity, with smaller companion pieces giving it a more relaxed, collected feeling.
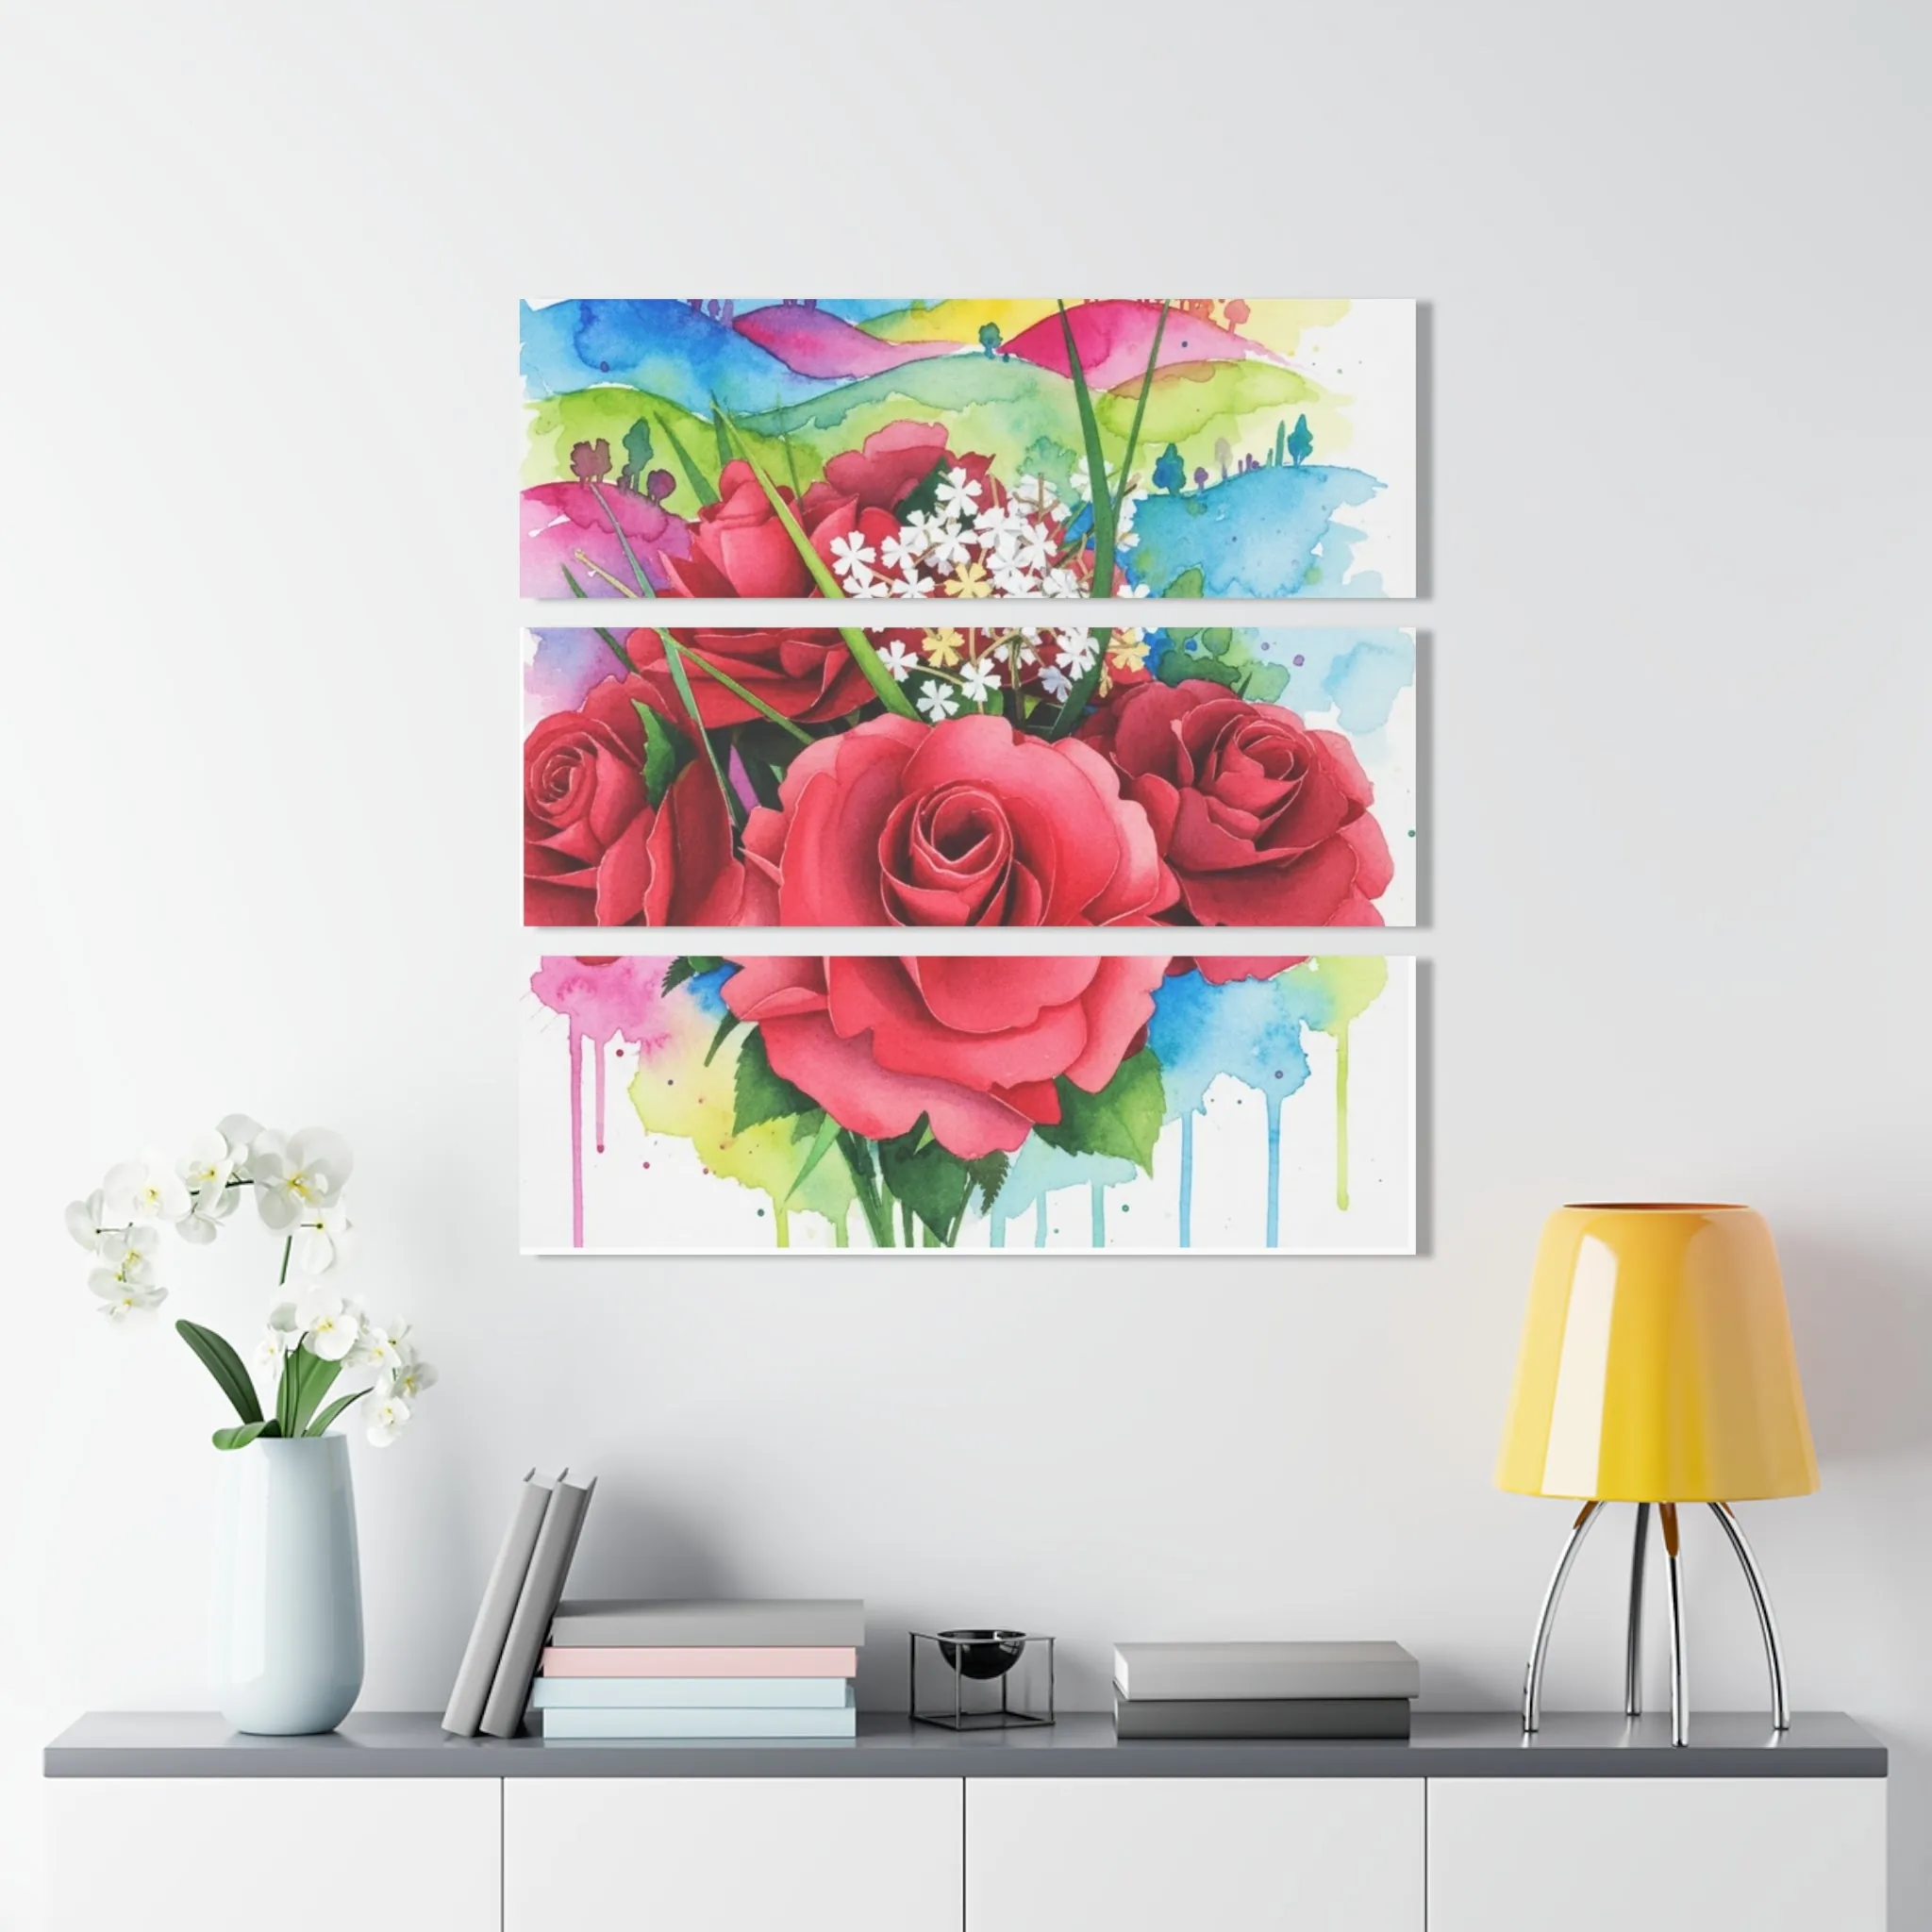
3. Make a floor plan before you hang anything
Lay the artwork on the floor first. It is the quickest way to see whether the group has balance before you are committed to a wall. Start with the anchor, then place the next largest piece on the opposite side or slightly lower than the first. Add the smaller pieces last. You are looking for a shape that feels stable without becoming too symmetrical.
Keep the spaces between frames consistent. An even gap is more important than making every edge line up. When one frame is closer than the others, the arrangement can look accidental even when the art itself is beautiful. As you move pieces around, look at the empty wall between them as carefully as you look at the artwork. That negative space is part of the composition.
When the floor layout feels close, take a quick photo. Photos reduce the distraction of being in the room and make weak spots easier to see. If the group looks like it leans heavily to one side, shift a darker, larger, or more detailed piece toward the other side. If it feels busy, remove one piece before you add another.
4. Use shape and scale to create rhythm
Floral art often has soft edges and flowing lines, so it benefits from a little structure around it. A mix of portrait and landscape pieces keeps the composition moving. A tall botanical can lift the eye, while a wide flower print can settle the group. One square frame can be useful as a pause between two more directional shapes.
Do not place every large piece across the top or every small piece at the bottom. Instead, distribute visual weight across the whole arrangement. A darker frame or a saturated flower can read as larger than it really is, so give it the same consideration you would give a bigger print. The goal is a gentle rhythm, with the eye able to travel from one piece to the next without getting stuck.
For a wall over furniture, let the full arrangement relate to the furniture below it. The group should feel connected to the sofa, bed, table, or console rather than floating high on the wall. Start with the center line of the furniture, then build the art around that relationship.
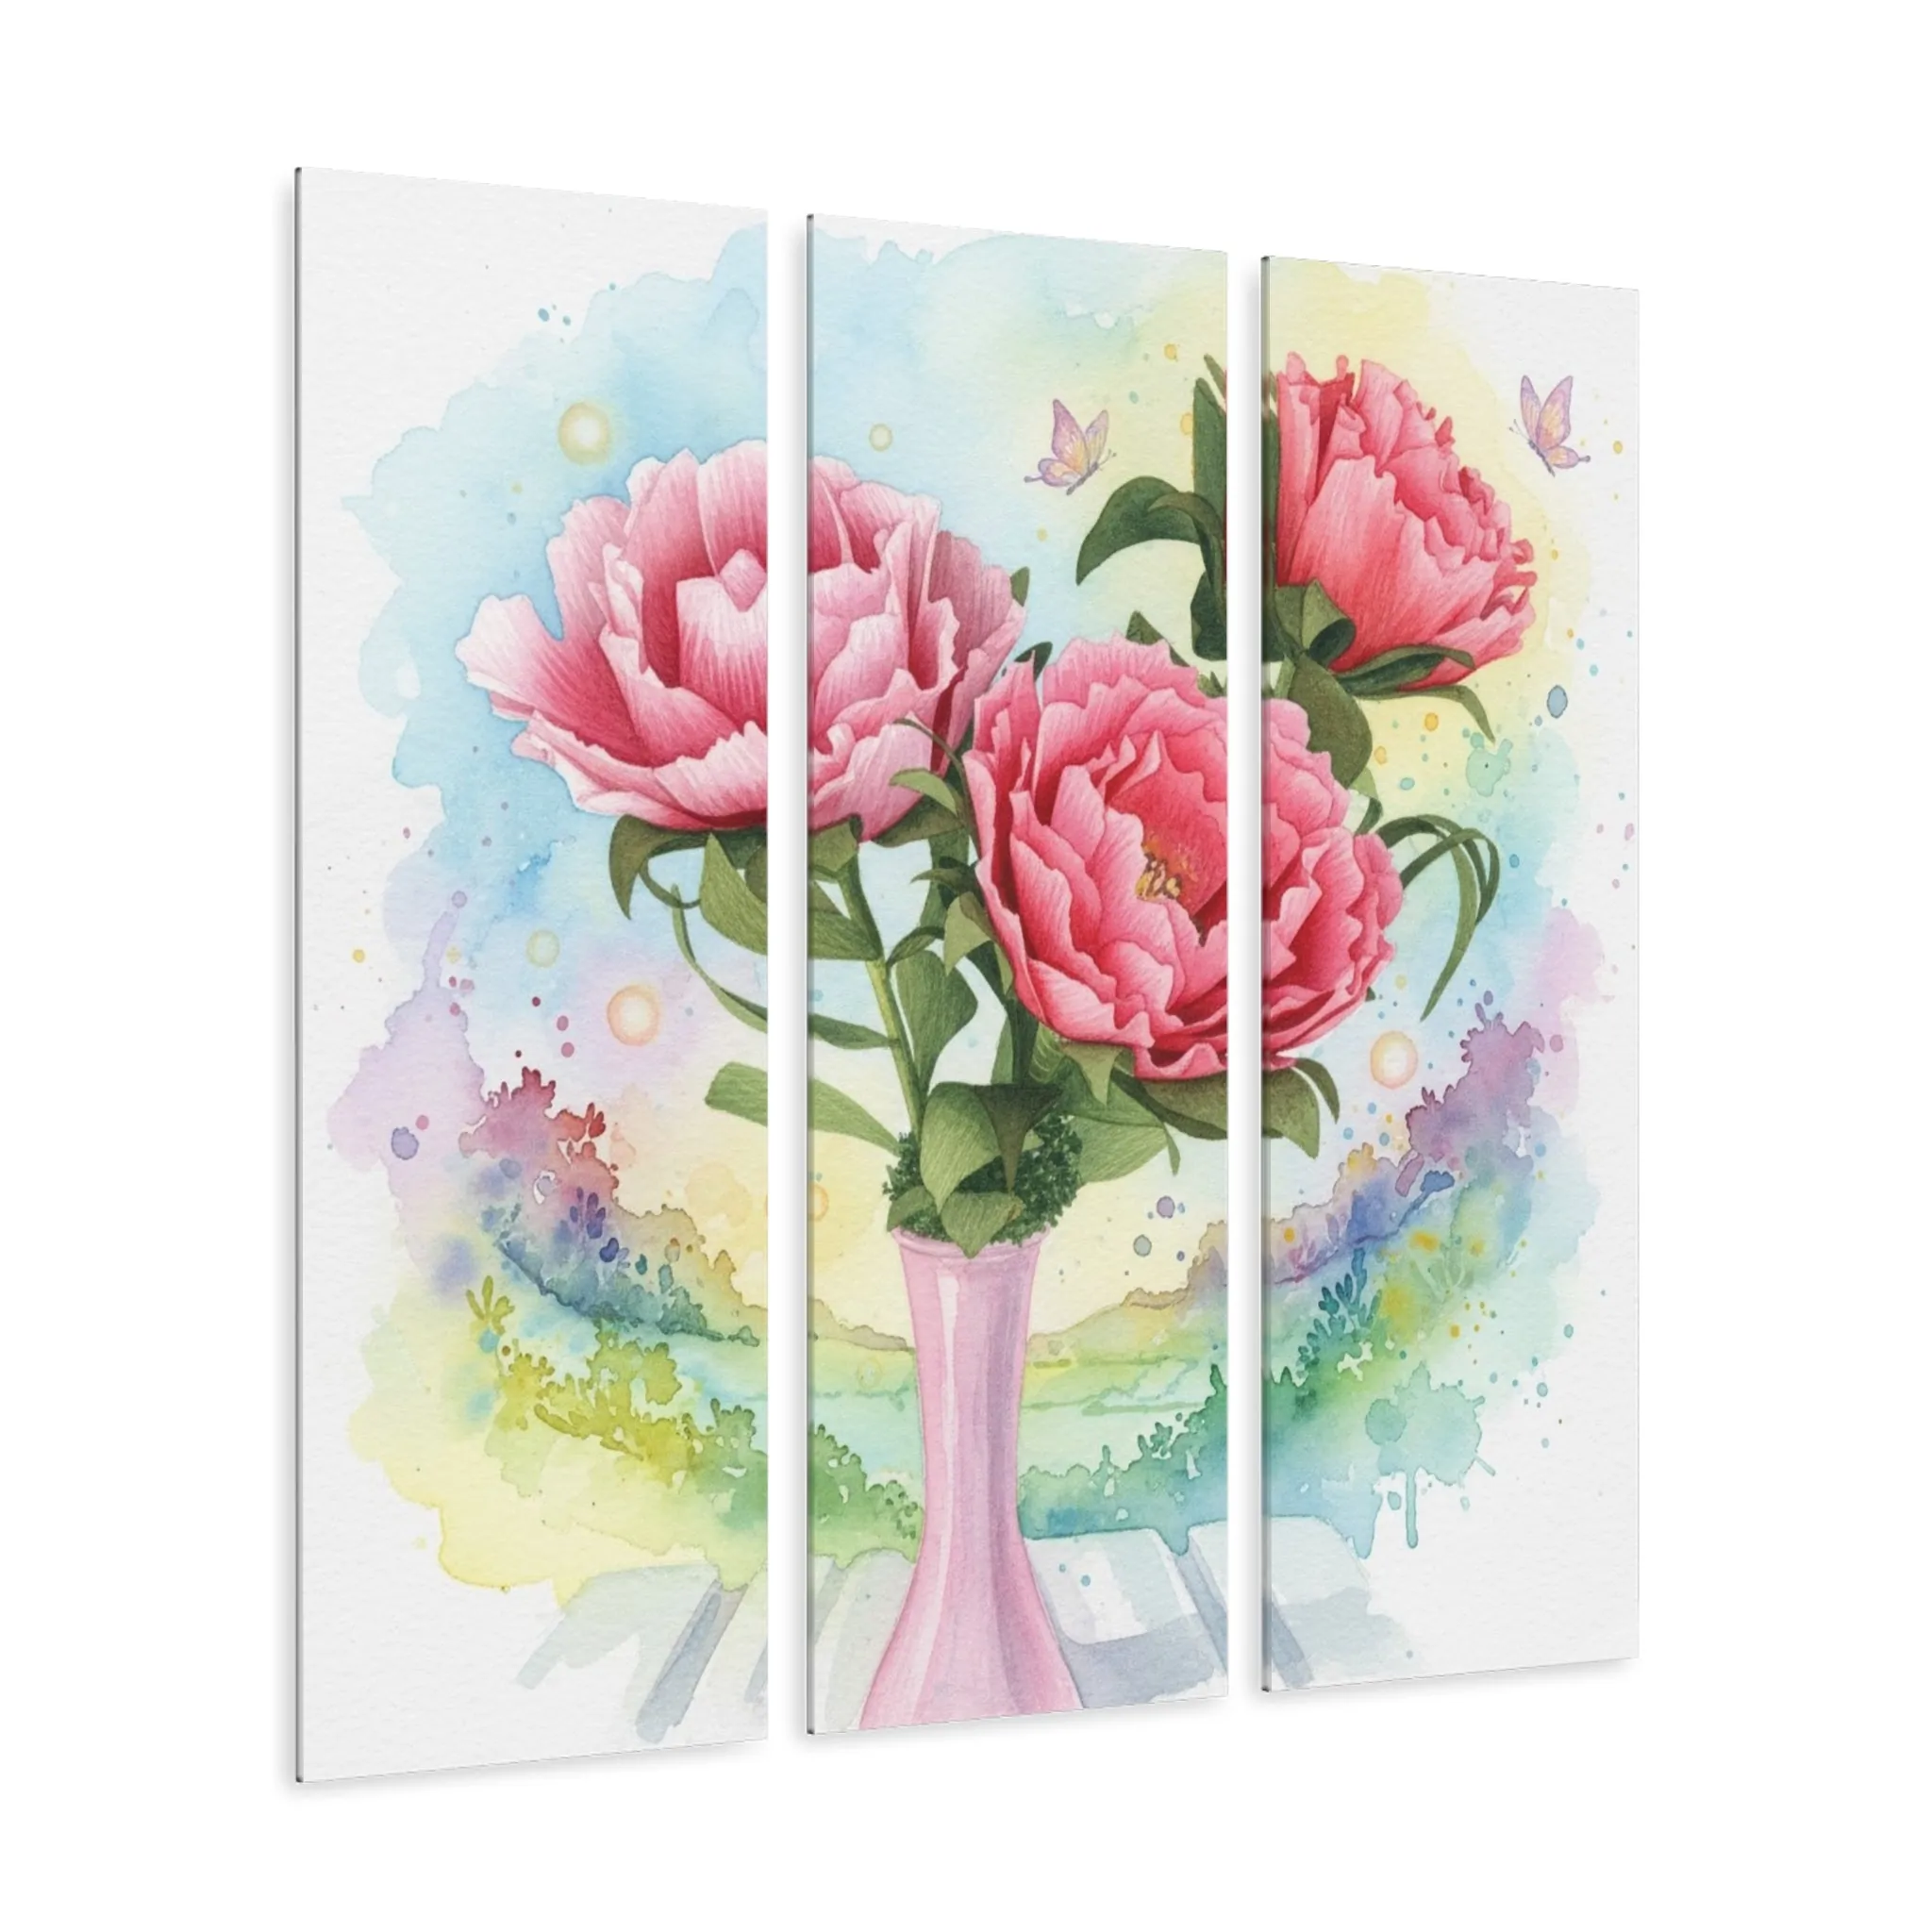
5. Keep frame choices calm and deliberate
Frames are the supporting cast. They should help the art feel connected without becoming the loudest part of the wall. Matching frames are a simple choice when you want a clean, polished arrangement. A limited mix can be more expressive, but it works best when the finishes share a common temperature. Honey wood, antique brass, and warm cream mats can live together. Crisp black, silver, and pale oak can also work when the room is cooler and more modern.
If the artwork is colorful, use quieter frames so the flowers stay in charge. If the art is more minimal, a more distinctive frame can give the group needed character. Mats are useful when you need to create a little visual space around smaller prints, especially when the wall color is similar to the art’s background.
A helpful rule is to repeat every major choice at least once. If you introduce a darker frame, use that finish in another piece. If one print has a wide cream mat, give another print a similar border. Repetition makes variation look intentional.
6. Let color move across the wall
Color is what makes a floral gallery wall feel like a group even when every bloom is different. Instead of placing all the pink or red pieces on one side, let those colors travel through the composition. A small blush flower near one corner can answer a larger peony across the wall. A green leaf or warm neutral background can repeat quietly from frame to frame.
Think about the colors already in the room too. A floral wall does not need to match the sofa exactly, but it should acknowledge the space around it. A soft peach print might pick up the warmth in a wood table. A deep rose can bring energy to a room with neutral upholstery. A pale botanical piece can give a room with darker furniture a place to rest.
When you are unsure, choose one dominant color, one supporting color, and a neutral. That is enough structure to keep the wall from becoming a collection of unrelated favorites.

7. Hang the arrangement at a livable height
Once you have the layout, trace each frame on kraft paper or use painter’s tape to mark the outside edges on the wall. This is worth the extra few minutes. It lets you check the relationship to furniture, doors, lamps, and the room’s main sightlines before you hang anything permanent.
Gallery walls are often hung too high because the empty wall feels larger than it is. In a living room or bedroom, the arrangement should connect to the furniture below it. In an entry or hallway, it should feel comfortable from the height where people actually look as they walk by. Step back, sit down, and look from the doorway before deciding the final height.
Use a level for the individual frames, but do not force the entire composition into rigid alignment. A collected gallery wall is allowed to have movement. The important thing is that the spacing is consistent and the overall shape feels balanced. Before you put the tools away, look at the wall once more in evening light too. A piece that looked perfect in bright daylight may need a lamp nearby or a slightly different position to remain part of the room after sunset.
8. Leave a little room for the wall to evolve
The best gallery walls rarely feel finished because every inch is full. They feel finished because the pieces already there belong together. Leaving a little open wall around the arrangement gives it calm, and it gives you the option to add something meaningful later. A small floral sketch from a trip, a favorite card framed with a wide mat, or a new print that repeats a color you already love can become part of the story without forcing you to start over.
Think about the wall as a collection rather than a single purchase. Start with the pieces that make the strongest visual foundation, then live with them for a while. You may notice that the room wants one tall botanical at the edge, a quieter print to soften a bright bloom, or simply more space. Those observations are more useful than trying to solve every possibility on the first day.
This approach also makes a gallery wall friendlier to different budgets and changing rooms. You can begin with an anchor piece you truly like, add one supporting work when it feels right, and let the arrangement adapt if you move furniture or bring in a new color. A wall that can evolve usually feels more personal than one assembled all at once.
How Artisan’s Studios can help you build the wall
Artisan’s Studios makes it easier to begin with a piece that already has color, movement, and a handmade floral point of view. The wall art collection includes floral work in canvas, metal, acrylic, and print formats, so you can choose an anchor or a smaller supporting piece that suits the scale of the room.
For a softer watercolor direction, visit the watercolor floral wall art collection. For a bolder statement piece, browse the Founder’s Editions. If you are working with one particular wall and want a second pair of eyes before you decide, contact the studio with the room dimensions, a photo, and the colors already in the space.
Questions people ask about floral gallery walls
How many pieces should a floral gallery wall have?
Start with three to five pieces when you are building your first arrangement. That is enough to create a visible composition without making the wall hard to edit. Add more only when the wall has the room and the first group already feels resolved.
Do all frames in a floral gallery wall need to match?
No. Matching frames make a group feel formal and quiet, while a limited mix of wood, gold, or painted frames can feel more collected. Keep one common thread, such as a similar warmth, profile, or mat color, so the group still reads as one composition.
What is the easiest floral gallery wall layout?
A center anchor with smaller pieces around it is the most forgiving layout. Put the largest print slightly off center, then build outward with two to four supporting pieces. It gives the eye a clear starting point and leaves room for the arrangement to grow.
Can a gallery wall use different kinds of floral art?
Yes. A watercolor bloom, botanical study, and more graphic floral print can live together when they share a similar color story, frame material, or level of visual calm. The goal is a conversation between pieces, not identical artwork.
Related posts

Related reading
How to Choose Floral Wall Art for Any Room
Use size, color, mood, and placement to find floral wall art that belongs in your space.
Related reading
Large Flower Wall Art: How to Choose the Right Size
Choose large flower wall art that gives your room a focal point without overwhelming the space.
Related reading
Floral Wall Art for a Living Room: A Practical Guide
Choose floral wall art for a living room by balancing scale, color, light, and the way people gather there.
Related reading